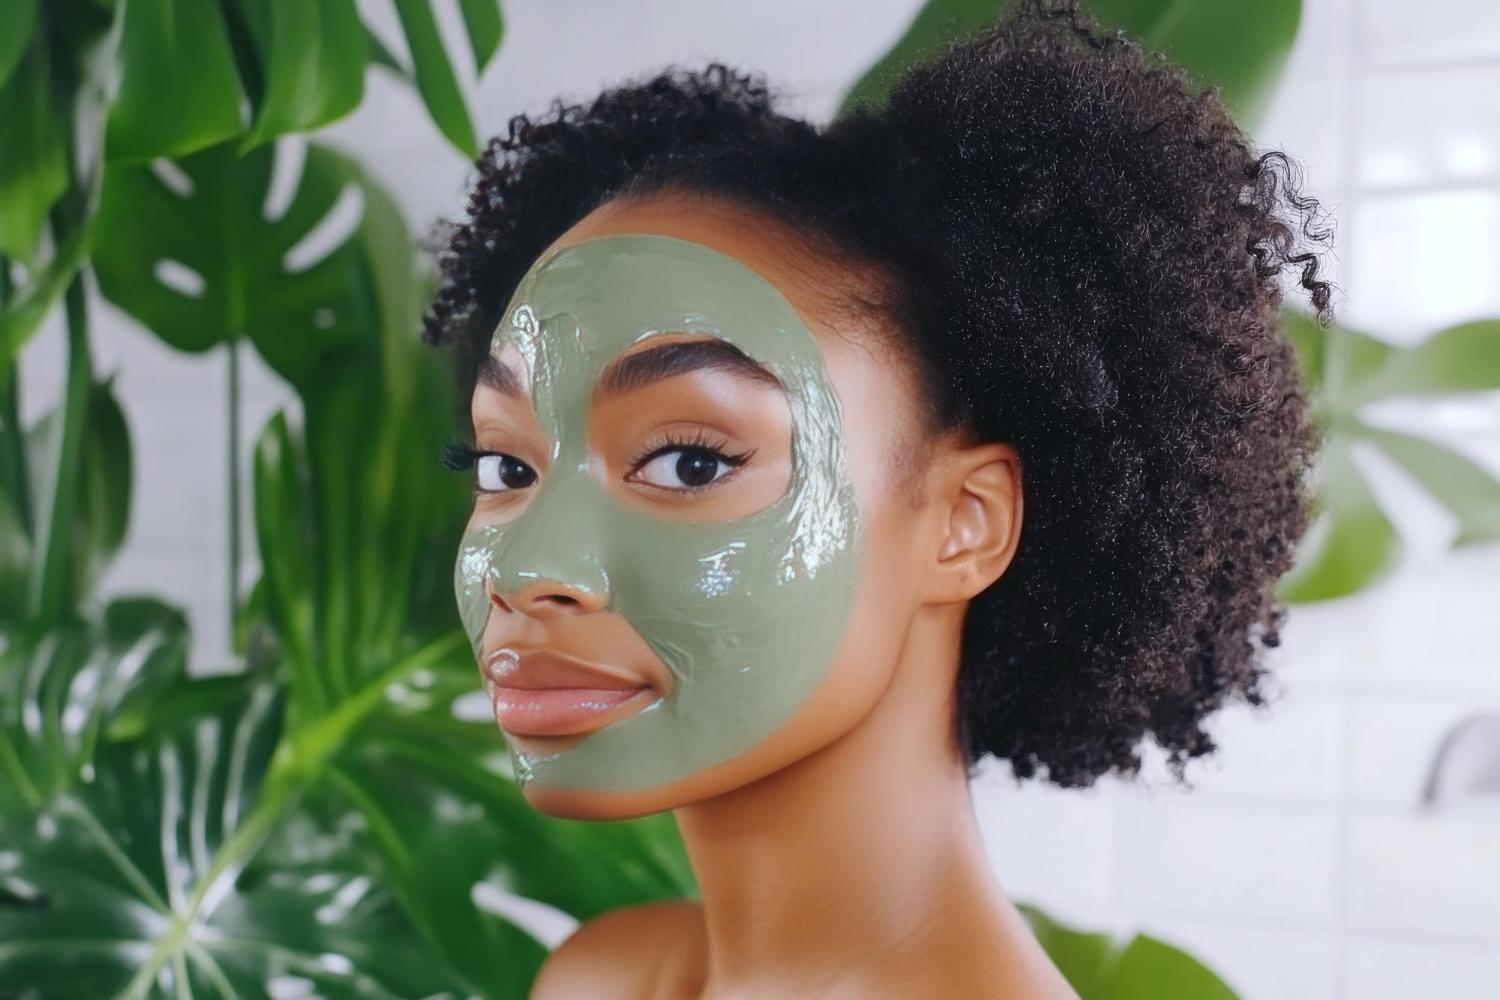
Starting a skincare routine can feel overwhelming with all the products and advice out there. But it doesn’t have to be complicated.
Whether you’re completely new to skincare or looking to simplify your existing routine, this guide is here to help.
We’ll walk you through a basic eight-step routine that covers everything from cleansing to moisturizing.
Each step is designed to build on the previous one, making it easy to follow and effective for keeping your skin healthy and glowing.
Sure, everyone’s skin is unique, and it’s important to find what works best for you. However, there are some basic steps that everyone can follow.
These steps help clean your skin, keep it hydrated, and protect it from the sun. When you take care of your skin, it not only looks better but also stays healthier.
Step 1: Start with a Gentle Cleanser

Morning and night, begin your skincare routine by washing your face.
A gentle cleanser helps remove dirt, oil, and any leftover makeup without stripping your skin of its natural oils.
Look for products labeled “for sensitive skin” or “fragrance-free” to avoid irritation.
Rinsing with lukewarm water is best. Hot water can dry out your skin, and cold water doesn’t remove oils as effectively.
After applying the cleanser with your fingertips, a soft circular motion works well to lift off the dirt.
Once you’re done, pat your skin dry with a clean towel instead of rubbing it, which can be too harsh.
Regular cleansing sets the stage for the rest of your skincare products. Clean skin absorbs creams and serums better, making your next steps more effective.
Plus, it feels refreshing to start and end your day with a clean face.
For dry skin, a hydrating cream or lotion cleanser works best. Sensitive skin? Go for a gentle, fragrance-free option.
- Wet your face with lukewarm water to open up your pores.
- Apply a small amount of cleanser to your fingertips and use light, circular motions to massage it all over your face. Avoid scrubbing hard, which can irritate your skin.
- Rinse with lukewarm water and gently pat your skin dry with a clean towel.
Cleansing is fundamental because it removes dirt and oil, preventing clogged pores and helping your skin look fresh.
Step 2: Apply Toner
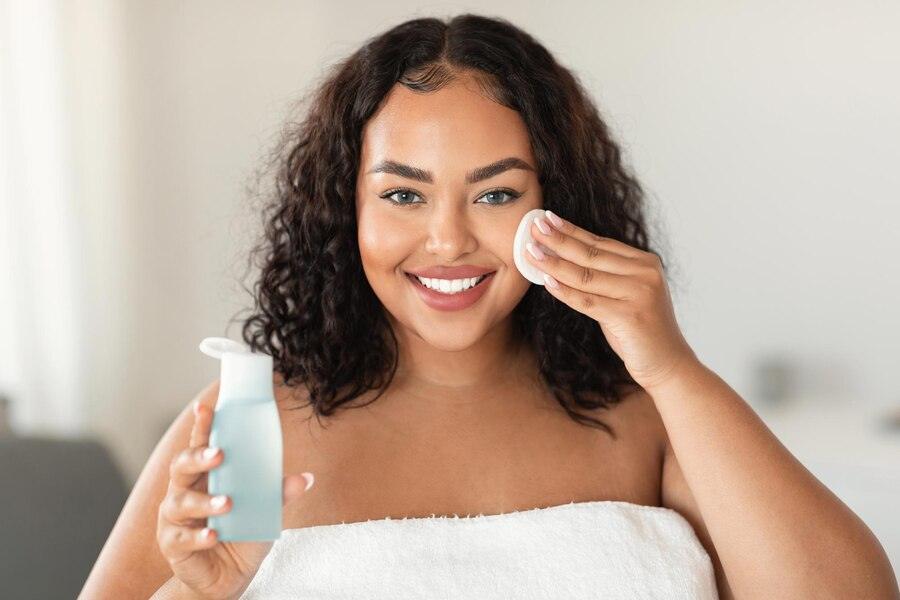
After cleansing, a toner can be a great next step. It helps to balance the skin’s pH and remove any residues left after cleansing.
For a beginner, look for alcohol-free toners as they are less drying. Toners that contain soothing ingredients like aloe vera or chamomile can also be beneficial.
You can apply toner with a cotton ball or pad, gently sweeping it across your face. Avoid pulling or dragging the skin.
Alternatively, some people prefer to pour a little toner into their hands and pat it directly onto their skin, which can be less wasteful.
Including toner in your routine helps prepare your skin to better absorb moisturizers or serums applied in subsequent steps.
It’s like prepping a canvas before painting; toner evens out the surface so everything else goes on smoothly.
Toner removes any traces of dirt or makeup left behind and can help restore your skin’s pH balance.
- After cleansing, pour a little toner onto a cotton pad.
- Sweep the cotton pad gently across your face, avoiding the delicate eye area.
- Let the toner dry naturally—no need to rinse.
Toners can also shrink pores and prepare your skin to absorb moisturizers or treatments better.
Step 3: Serum Time
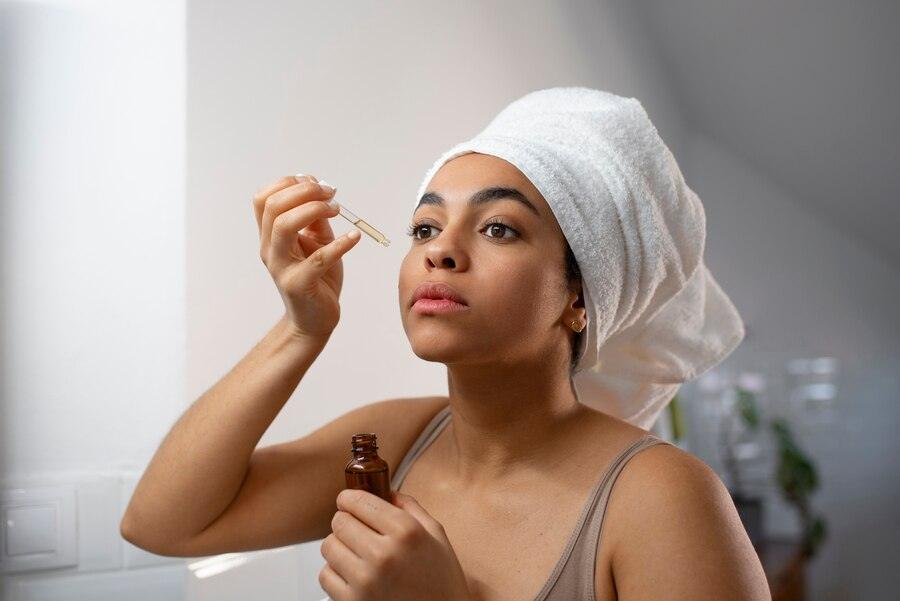
Serums are concentrated solutions that target specific skin concerns like dryness, wrinkles, or dark spots.
Choose a serum based on what your skin needs most. For hydration, a hyaluronic acid serum is a good choice because it helps to hold moisture in the skin.
Applying a few drops of serum to your face and gently tapping it in can be more effective than rubbing.
Focus on areas that need the most attention, like dry patches or wrinkles. Remember, a little goes a long way due to the concentration of active ingredients.
Using a serum regularly can really make a difference in your skin’s appearance. Over time, you might notice your skin looks more radiant and even-toned.
- Apply 2-3 drops of serum to your clean fingertips.
- Gently press the serum into your skin, focusing on the problem areas.
- Wait a minute or two for the serum to fully absorb.
This step is great for a tailored approach to skincare, delivering powerful ingredients directly where you need them.
Step 4: Eye Cream
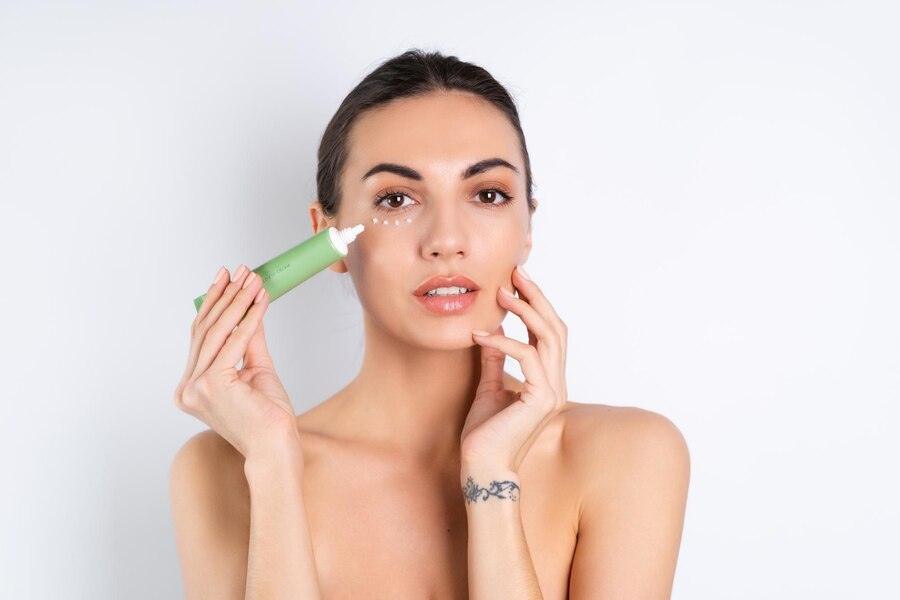
The skin around your eyes is thinner and more delicate than the rest of your face.
That’s why it can benefit from a cream specifically designed for this area. Eye creams can help reduce the appearance of dark circles, puffiness, and fine lines.
Gently apply eye cream using your ring finger, which applies less pressure than your other fingers.
Dabbing a small amount around the eyes, not pulling or stretching the skin, is the best method. Ensure you don’t get the cream too close to your eyes to avoid irritation.
Adding eye cream to your routine, especially before bed, can help you wake up looking refreshed. Over time, you might see a noticeable improvement in the skin around your eyes.
- Using your ring finger, apply a pea-sized amount of eye cream.
- Gently tap (don’t rub) the cream around the under-eye area and where you see fine lines.
- Be careful not to pull or stretch the skin.
Eye cream is a must for keeping the eyes looking bright and rested.
Step 5: Moisturize
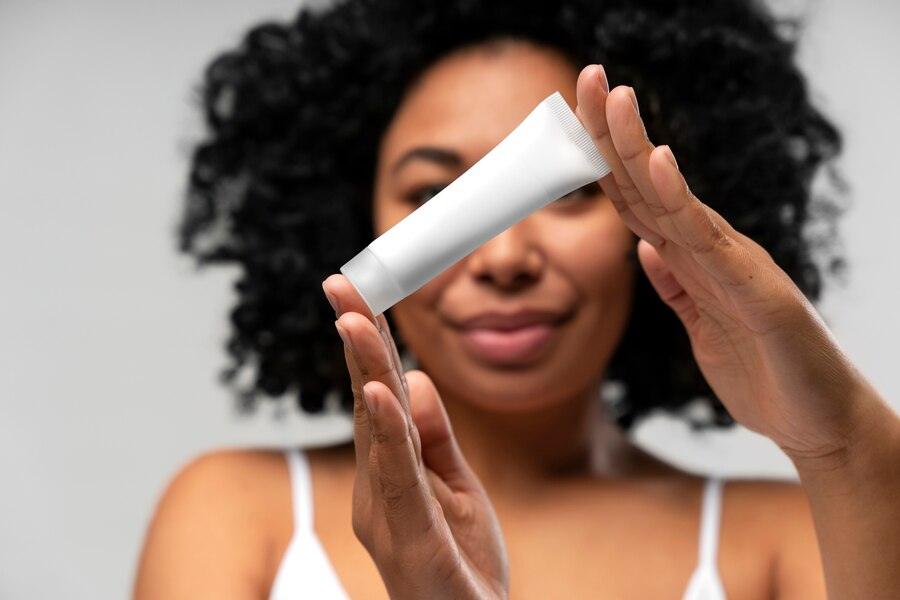
Moisturizing is essential, even if you have oily skin. It helps keep your skin balanced and hydrated.
Choose a moisturizer based on your skin type—for oily skin, go for something lightweight and non-comedogenic; for dry skin, something richer might be needed.
Apply moisturizer by gently massaging it into your skin in upward strokes. This not only helps absorption but also boosts circulation and can give your skin a bit of a lift.
Moisturizing can help protect your skin from the elements, be it the wind, cold, or dry air, and it’s essential for keeping your skin feeling soft and smooth.
- Choose a moisturizer suited for your skin type.
- Apply it in upward strokes to boost circulation and help absorption.
- Extend the moisturizer to your neck and décolletage.
Whether it’s day or night, a good moisturizer will keep your skin soft and supple.
Related Articles
How To Keep Your Hands Soft And Smooth: 15 Easy Tips
15 Simple Things That Make You Look Classy As A Lady
Step 6: Sun Protection

Sunscreen is crucial, every day, even when it’s cloudy.
UV rays can penetrate clouds and even glass, so whether you’re indoors near windows or under overcast skies, your skin needs protection.
Opt for at least SPF 30 and make sure it says “broad-spectrum” so you’re covered against both UVA and UVB rays.
Apply sunscreen as the last step in your morning routine. Make sure you cover all exposed skin and don’t forget areas like your neck and the backs of your hands, which are often neglected.
Regular use of sunscreen can help prevent premature aging and protect against skin cancer, making it a non-negotiable part of skin care.
- Use a broad-spectrum sunscreen with at least SPF 30.
- Apply it generously on all exposed areas of your skin.
- Reapply every two hours if you are outdoors or immediately after swimming or sweating.
Sunscreen helps prevent premature aging and lowers the risk of skin cancer.
Step 7: Spot Treatment

For those occasional breakouts, spot treatments are very effective. These products are designed to be applied directly to pimples and can significantly reduce their lifespan.
Ingredients like benzoyl peroxide or salicylic acid are common and effective.
You only need a tiny amount, just enough to cover the blemish. Be sure to apply it after your serum but before your moisturizer, so it doesn’t spread to other areas.
Using spot treatments only as needed can be a great way to handle breakouts without drying out the rest of your skin.
- After cleansing and before moisturizing, apply a small amount directly to any blemishes.
- Use a product with acne-fighting ingredients like benzoyl peroxide or salicylic acid.
- Allow it to dry before applying moisturizer.
Spot treatments target pimples directly, reducing them quickly without harming the surrounding skin.
Step 8: Night Cream
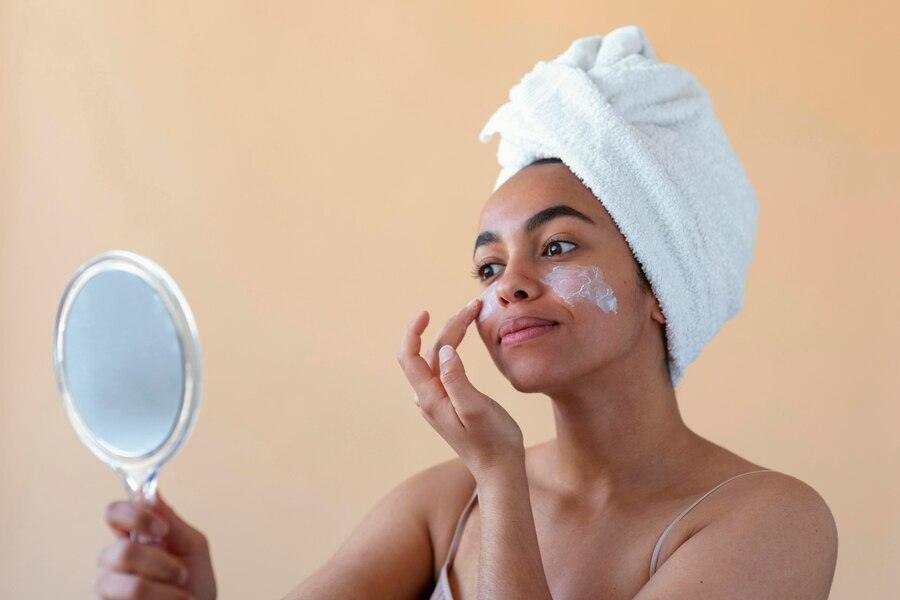
Night creams are thicker and more hydrating than day creams. They are designed to support skin repair while you sleep.
Ingredients like peptides, retinol, and ceramides are common in night creams because they help skin recovery and rejuvenation.
You should apply night cream right before you go to bed. After cleansing and any treatments or serums, smooth your night cream over your face and neck.
The gentle pressure from your hands helps the cream penetrate deeper into your skin.
Overnight, the active ingredients work to repair daily damage and replenish moisture, so you wake up with softer, more supple skin.
- After cleansing and any treatments, apply the night cream.
- Night creams are thicker and deeply hydrate and repair your skin overnight.
- Focus on areas that feel drier or where you want to combat aging.
Night creams work while you sleep, helping to restore and rejuvenate your skin for a fresh morning look.
